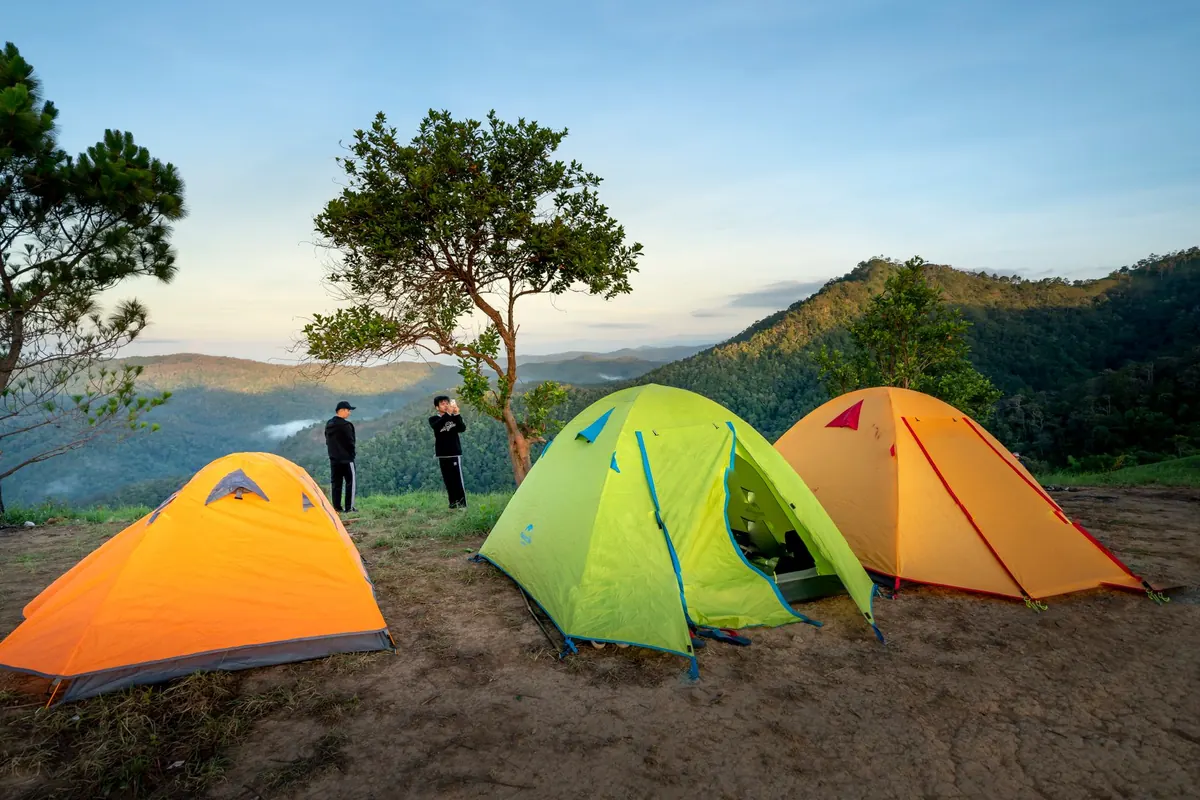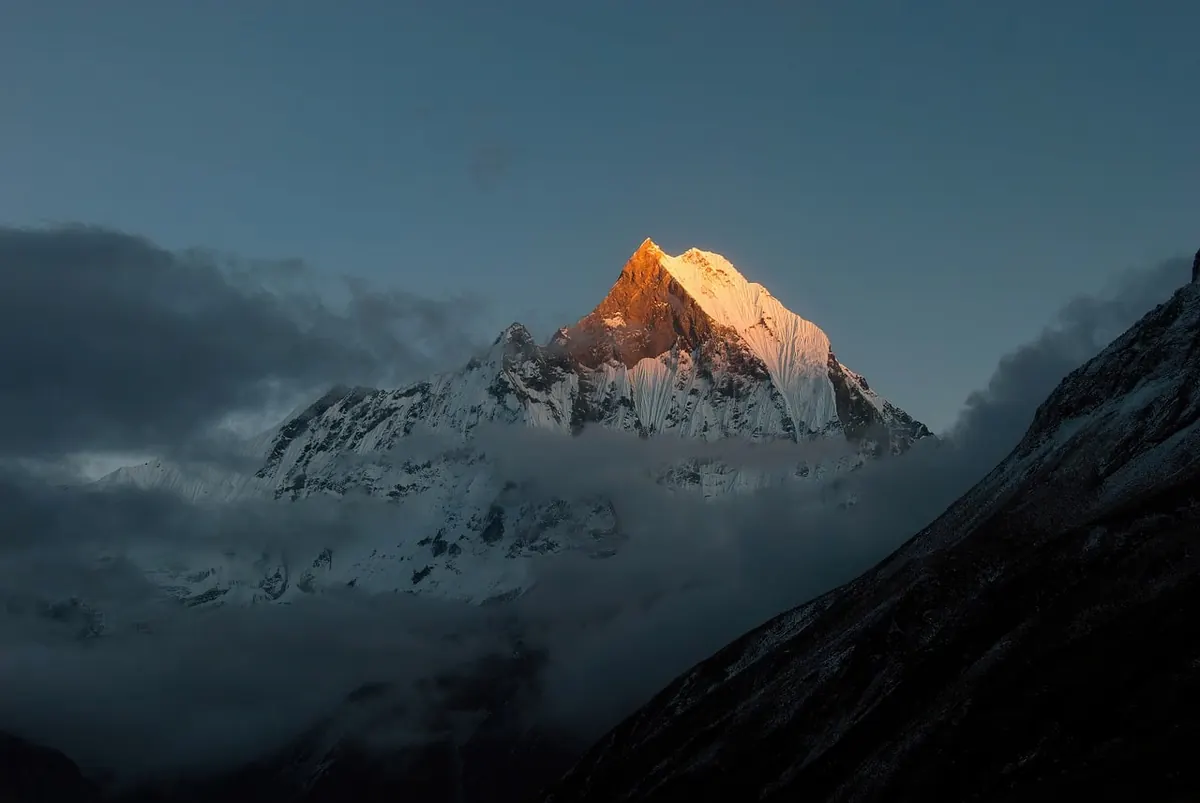
Golden hour in the Peak District rarely lasts a polite hour. On a June evening above Curbar Edge it can stretch past ninety minutes of soft, workable light. In late December you might get twenty minutes before the gritstone turns a flat, sulky grey. Either way, it arrives when you are tired, the wind is already up and your fingers have gone numb. A bit of preparation turns a frantic scramble into a calm, deliberate shoot.
What follows is the sequence worth running through before any sunrise or sunset trip onto the moorland edges — from the desk at home to the walk back in the dark.
Scout the location before you carry a tripod up there
Most disappointing golden hour shots are location failures, not exposure failures. Work out where the sun will rise or set before you commit to a hill. An edge facing roughly the sunset direction gives you the light head-on; an edge facing away gives you nothing but a silhouetted horizon and a warm glow behind you.
Start with an Ordnance Survey map — OL1 for the Dark Peak, OL24 for the White Peak — and read the contours properly. A shoot from Bamford Edge looking out over Ladybower is a different photograph from the same light on Higger Tor, and a five-minute walk along the edge can be the difference between a crowded frame and an empty one.
Then check a sun-position app for the exact bearing and elevation of the sun at your chosen time. Note where it will disappear behind a ridge. High ground loses the sun earlier than the valley floor, so a sunset that reads 21:40 in Sheffield may be over for you at 21:15.
Timing: arrive early and stay late
Aim to be standing at your composition at least forty-five minutes before sunrise or sunset. The best light usually falls in the twenty minutes either side, and the clouds that catch it are already forming before that. Arriving as the colour starts means shooting with cold hands and a bad tripod position.
Don't pack up the moment the sun has gone. The blue hour afterwards gives twenty to forty minutes of even, cool light that suits silhouettes of heather, hawthorn and lone gritstone boulders.
What the forecast is actually telling you
Clear skies look promising and often deliver flat, dull light once the sun drops below the horizon. Broken cloud is the better bet — enough gaps to let light through, enough cloud to catch colour. In autumn and winter, a still morning after a clear night can put cloud inversions in the valleys below Mam Tor, Lose Hill and the edges above Hathersage, with the high ground poking out above a white sea. That is worth the early alarm.
Exposure settings that hold the sky
Meter for the highlights, not the shadows. Blown clouds cannot be recovered; dark moorland can. A workable order on site:
- Set up the tripod and switch off stabilisation. ISO 100 or 200, aperture between f/8 and f/11 for most edge landscapes.
- Expose so the brightest cloud sits just below clipping. Check the histogram — highlight data should touch the right edge without piling up against it.
- Focus deliberately. Use magnified live view on a point roughly a third into the frame, or set hyperfocal distance if you want foreground rock sharp through to the horizon.
- Think about shutter speed and wind. Heather and cotton grass move constantly. Either freeze it at 1/60 sec or faster, or commit to a long exposure of several seconds for a soft blur. Half measures look like mistakes.
- Bracket when the contrast is extreme. Two or three frames at one-stop intervals give you options later.
- Check the image at 100% on the back of the camera. A smeared corner from a dirty filter is far easier to fix on the hill than at home.
Shoot raw and set a fixed daylight white balance rather than auto. Auto white balance drifts as the light warms and cools, and matching frames later becomes irritating.
Filters worth carrying, and the ones worth leaving behind
A polariser does the most obvious work at golden hour: it deepens a blue sky, cuts glare on wet gritstone and lifts the colour of August heather. On lenses wider than about 16mm the effect becomes uneven across the frame, so use it gently or not at all.
A soft-edged graduated neutral density filter of two or three stops balances sky and land when bracketing isn't practical. A hard-edged grad suits a flat horizon over the reservoirs; a soft edge suits the jumbled ridgelines of the Dark Peak. For streams and waterfalls — Padley Gorge, Wyming Brook, the upper Derwent — a six-stop ND opens up long exposures, though in winter golden hour you may find the light is dim enough already.
Keep the glass clean and resist stacking too much. Polariser plus grad plus ND is a recipe for flare, vignetting and a colour cast you'll spend the evening correcting.
Compose for the edges, and share them well
Peak District edges reward a strong foreground: a curved slab of gritstone, a wind-shaped hawthorn, a patch of flowering heather in late summer, birch leaves turning in October. Place the horizon with intent rather than through the middle, and leave room in the frame for the light to move into.
Dawn and dusk are busy on Stanage, Curbar, Bamford Edge and Mam Tor in summer. Walk twenty minutes further along the same edge and you'll often have the rock to yourself. Give other photographers room to work, and keep out of the frame if someone is clearly mid-exposure.
Staying safe on the moor after dark
- Tell someone your route and expected return time. Signal is patchy in Edale, the Upper Derwent and beneath the edges.
- Carry a head torch with fresh batteries and a spare. The walk back is over uneven gritstone and peat.
- Wear boots with real grip. Wet gritstone slabs are slick, and many edges have unguarded drops.
- Pack a windproof shell and an extra layer. The edges run several degrees colder than the valley.
- Stay on paths between April and July, when curlew, lapwing and skylark nest on the moorland. Keep dogs on leads near livestock.
- Close gates, don't block farm entrances, and check whether your car park locks overnight before you leave the car.
- If you're not confident with a map and compass, don't solo a remote bog at dusk. Save it for a clearer, earlier evening.
The night before: five minutes that save the shoot
Charge batteries, format cards, clean the front element and the filters, and put the tripod plate back on the camera. Check the forecast one final time and adjust the route rather than cancelling. Then set two alarms — one for waking, one for leaving — and lay your clothes out where you can find them in the dark. Golden hour in the Peak rewards the photographer who has already solved the small problems before the light arrives.
Photo: YaoMuyu / Pixabay